Thursday, December 31, 2020

Started work on the Vertical Stabilizer ribs

Here are the plans. Doesn't look too complicated.

Pealing off the Blue Stuff. Not fun, but must be done...

Trim off the front of the ribs. This is most likely to prevent outward dents in the vertical stabilizer skin when attached. I also deburred and sanded all the edges on each rib.

Crimped the outer flanges. This crimp forces the rib to straighten so it lays flat on the work bench.

Pop-riveted the front spar and ribs together. It's starting to look like something!

Smoothed the edges on the vertical stabilizer skins. Sometimes on the scotch-brite wheel, but mostly with 320 grit sandpaper.

Riveted the nutplates to the forward spar. These nutplates have screws that hold on the forward skin.

Clecoed everything together. Time for pop-rivets!

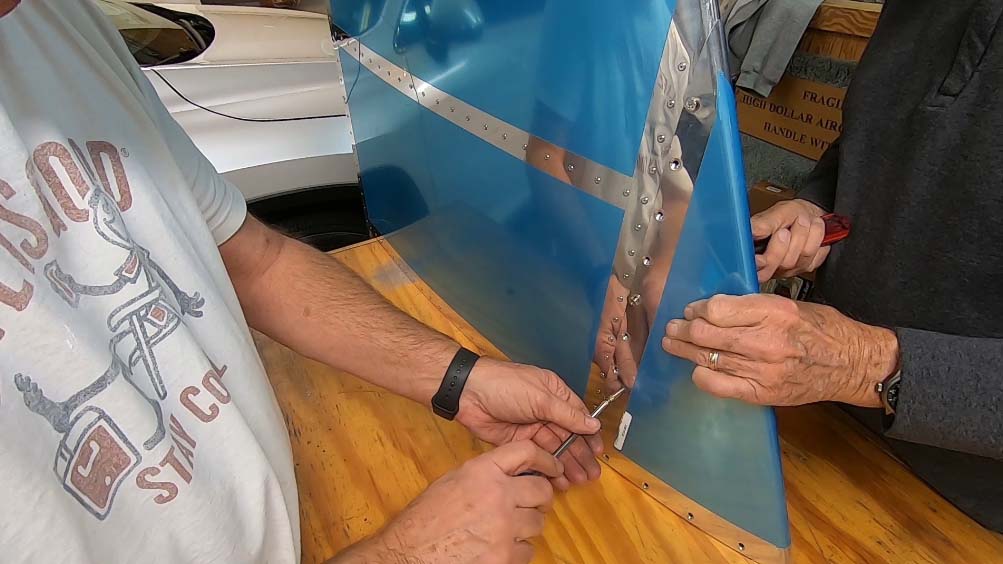
Pop-riveted everything together. So easy. Me likey!

Put on the Front Skin. This is looking really good!

Finished! Now for the Rudder!

Wednesday, December 30, 2020

Started work on the Vertical Stabilizer Rear Spar

Made the wedge tools. This little wedge allows me to install pop-rivets at an angle when there's not enough room to put one in.

Put the Vertical Stabilizer Hinge Assemblies Together. I used my handy pneumatic rivet squeezer to rivet this together. The pneumatic rivet squeezer make riveting much easier than the conventional hand squeezer.

Here are the upper and lower hinge assemblies. These assemblies will allow the attachment of the aircraft rudder.

Put in the upper spar cap onto the rear spar. Now, on to the lower spar cap.

Put the lower spar cap in place on the rear spar. Time for some drillin'!

Final drilled everything. I final drilled the upper and lower spar cap using the rear spar as a guide.

Riveted the spar cap to the rear sparRiveted the spar cap to the rear spar. Here's where the wedges come in handy, since I can't put in the pop rivets without them.